
How to Fix a Leaning Fence Post
Fixing a Leaning Fence Post: A Comprehensive Guide
Sheridan fencing - Dave Relf
Dealing with a leaning fence post can be daunting, but with the right approach, you can restore your fence to its original stability. If you ever need professional assistance, Sheridan Fencing is here to help. Here’s a step-by-step guide to fixing your leaning fence post.
Step 1: Assess the Condition of the Post
Before starting any repair work, it’s crucial to assess the condition of the leaning post:
Check for Damage: Inspect the post for cracks, rot, or other damage. If the post is severely damaged, it may need to be replaced.
Stability Check: Ensure the post is still firmly set in the ground. If it's loose, the repair process will involve securing it more effectively.
Step 2: Choose the Side to Dig
To correct the leaning, you'll need to dig around the base of the post. Here's how to determine where to dig:
Identify the Leaning Direction: Observe the direction in which the post is leaning.
Dig Opposite to the Lean: Dig on the side opposite to the lean. This creates an opening for the post and the surrounding concrete to move back into the correct position.
Step 3: Dig Around the Post
Once you’ve identified where to dig, follow these steps:
Prepare Your Tools: You'll need a spade, shovel, and a fencing bar.
Dig Carefully: Start digging around the base of the post and the concrete footing. Be cautious not to damage the post.
Create Adequate Space: Ensure you've created enough space around the concrete footing to allow for movement.
Step 4: Reposition the Post
After digging around the post, it’s time to reposition it:
Use a Lever: Use a spade or fencing bar to lever the concrete footing. This method ensures you're moving the strongest part of the post.
Realign the Post: Gently push the post back to its upright position. You might need assistance to ensure it’s perfectly vertical.
Step 5: Secure the Post with Concrete
To ensure the post remains stable, secure it with concrete:
Mix the Concrete: Follow the manufacturer's instructions to mix quick-setting concrete. Typically, this involves mixing the concrete powder with water in a wheelbarrow or large bucket.
Pour the Concrete: Pour the mixed concrete into the hole around the base of the post. Make sure it fills all gaps around the post and existing concrete footing.
Ensure Alignment: Use a level to check the post’s alignment. Adjust as necessary while the concrete is still wet.
Allow to Set: Let the concrete set and cure according to the instructions, usually at least 24 hours. Avoid disturbing the post during this period.
Special Considerations for Uneven Soil Levels between Gardens
If the leaning is caused by uneven soil levels, additional steps are necessary:
Addressing Overloaded Soil
Identify the Issue: Check if the soil has been piled up against the fence, causing it to lean.
Remove Excess Soil: Remove the excess soil from both sides of the leaning post up to the next straight post.
Balance Soil Levels: Ensure that neither your garden nor your neighbour’s garden is putting undue pressure on the fence.
Installing or Adjusting Gravel Boards
Gravel boards can help manage soil levels between different garden heights:
Check Gravel Boards: Inspect existing gravel boards for any issues. Adjust or reinstall them if necessary.
Dig Around Gravel Boards: Dig around the gravel boards to relieve pressure on the leaning post. Ensure that the soil is evenly distributed.
Step 6: Compromise on the Fencing Line with a Straight Post
Sometimes, due to space constraints or other factors, you may only be able to dig on one side of the post. In such cases, you might need to compromise on the fencing line:
Align with Nearest Straight Post: Ensure the leaning post is aligned as closely as possible with the nearest straight post.
Adjust Fence Panels: You may need to adjust the fence panels to accommodate the slight shift in the post's position. This might involve repositioning brackets or screws.
Conclusion
Fixing a leaning fence post doesn't have to be a daunting task. By following these steps, you can restore stability to your fence and enhance the overall appearance and safety of your property. Regular maintenance and prompt repairs are key to keeping your fence in top condition.
Need Professional Help for leaning fence repair
If you need fence repair in Medway, Gravesend, Sittingbourne, or Maidstone, Sheridan Fencing is here to help. With years of experience and a commitment to quality, we ensure your fencing needs are met efficiently and effectively. Contact us today for all your fencing solutions.
Fixing a Leaning Fence Post in Wainscott, Medway: Our Step-by-Step Real life Process
In Wainscott, Medway, a leaning tree had pushed a concrete fence post over the past 20 years, causing it to lean significantly. Here's a detailed account of how we at Sheridan Fencing fixed this leaning fence post.
Table of Contents
- Introduction
- Step 1: Assessing the Condition of the Post
- Step 2: Digging Around the Post
- Step 3: Repositioning the Post
- Step 4: Securing the Post with Quick-Drying Cement
- Visual Aids
- Outcome
- Why Choose Sheridan Fencing
Introduction
In Wainscott, Medway, a leaning tree had pushed a concrete fence post over the past 20 years, causing it to lean significantly. Here’s a detailed account of how we at Sheridan Fencing fixed this leaning fence post.
Step 1: Assessing the Condition of the Post
The first step in our process was to assess the condition of the post. We thoroughly inspected the post to ensure it was not cracked or broken. Since the post was structurally sound, we proceeded with the repair rather than replacing it.
Step 2: Digging Around the Post
Next, we prepared to dig around the base of the leaning post. Here’s how we did it:
Gathering Tools: We collected a spade, shovel, and fencing bar to assist with the digging.
Careful Digging: We carefully excavated around the base of the post and the concrete footing. It was important to avoid damaging the post during this process.
Creating Space: We made sure there was enough space around the concrete footing to allow for movement when repositioning the post.
Step 3: Repositioning the Post
With sufficient space created around the base, we proceeded to reposition the post:
Using a Lever: We used a spade and a fencing bar to lever the concrete footing. This provided the strength needed to move the post.
Realigning the Post: We gently pushed the post back to its upright position. This required careful handling, especially since the post had been leaning for a long time.
Step 4: Securing the Post with Quick-Drying Cement
To ensure the post remained stable after repositioning, we secured it with quick-drying cement:
Mixing the Cement: We prepared a batch of quick-drying cement according to the manufacturer's instructions.
Pouring the Cement: We poured the mixed cement into the hole around the base of the post, making sure to fill all gaps around the post and the existing concrete footing.
Ensuring Alignment: Using a level, we checked the post’s alignment and adjusted it as necessary while the cement was still wet.
Allowing to Set: Quick-drying cement takes about 10 minutes to set. During this time, we ensured the post remained undisturbed.
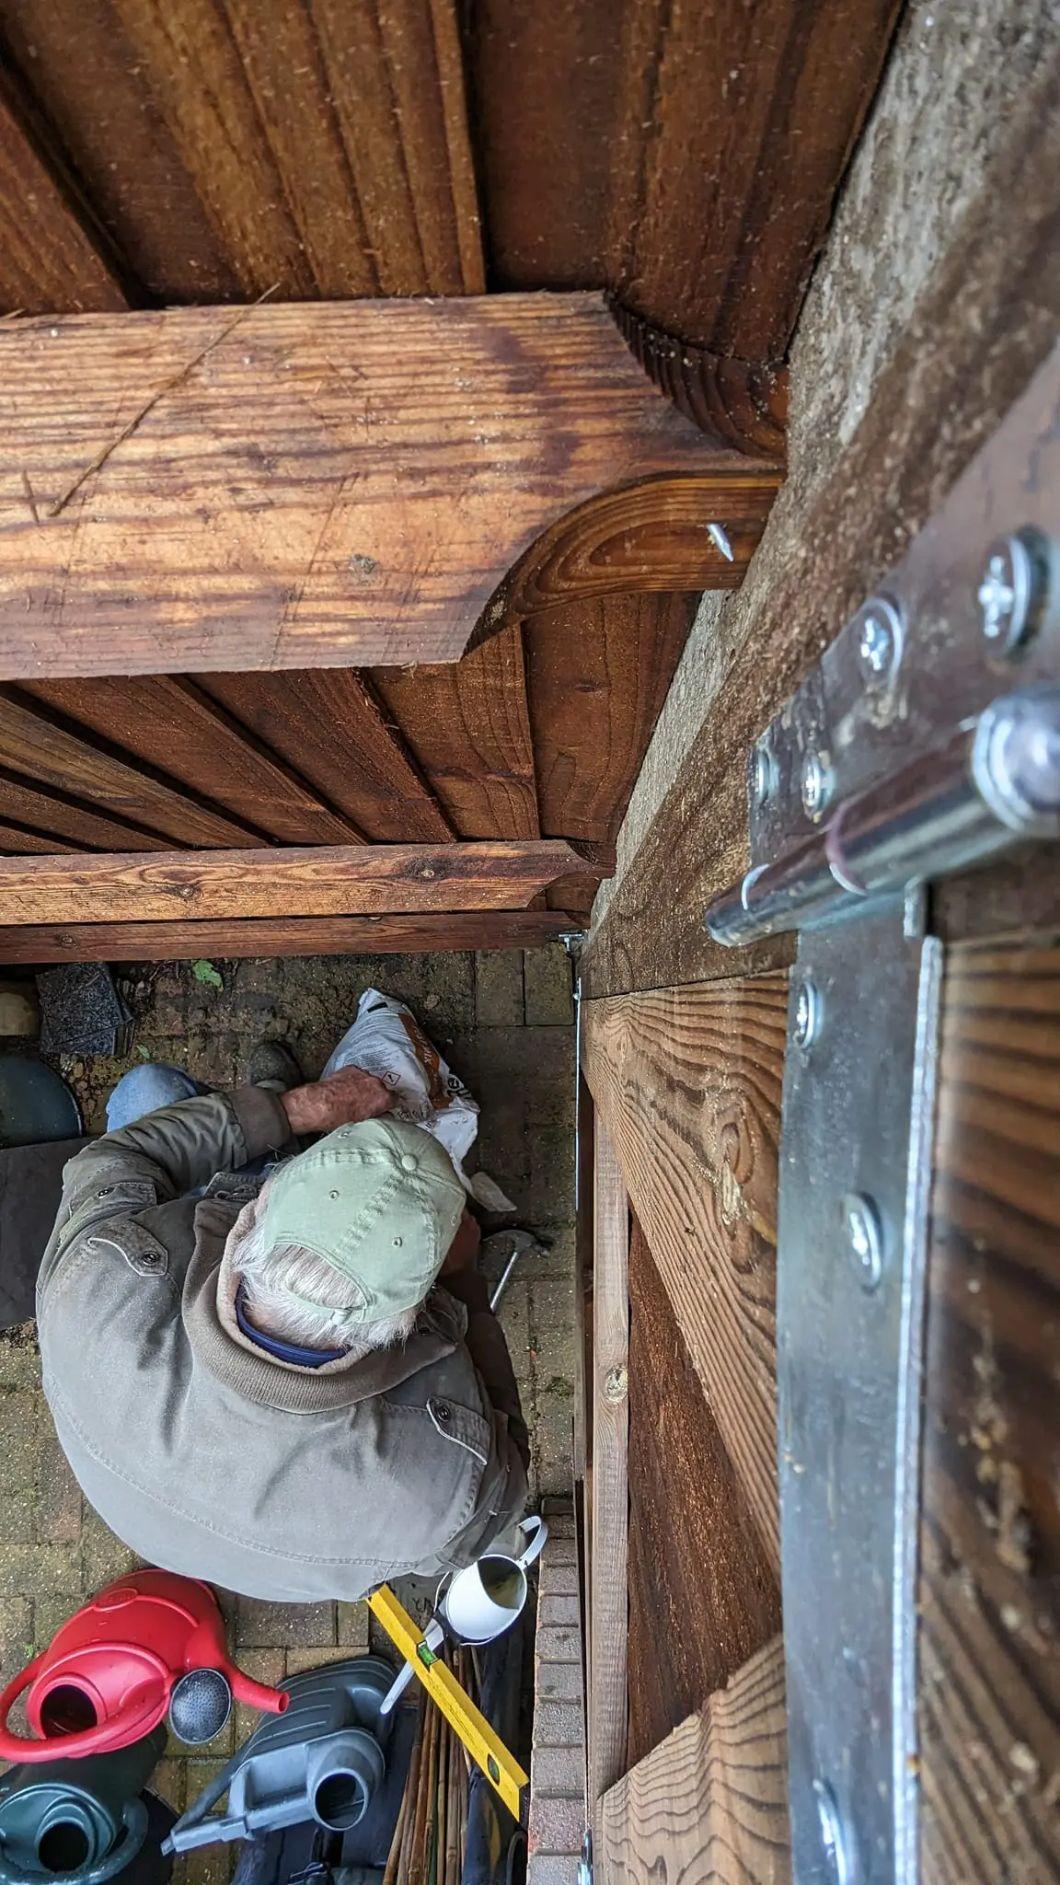
Visual Aids
Here are three photos illustrating the process:
Leaning Post with a Level: This photo shows the fence post leaning, with a level indicating the angle of the lean.

Straightened Post with a Level: This photo shows the fence post after repositioning, with a level indicating that it is now straight.

Concrete Around the Old Footing: This photo shows the new concrete poured around the old concrete footing and the post, securing it in place.

Outcome
After following these steps, the leaning fence post in Wainscott, Medway, was successfully fixed. The post was realigned and secured with quick-drying cement, making the fence as good as new. This real-life example demonstrates that with the right approach, even long-standing issues can be effectively resolved in a short amount of time.
Fixing a leaning fence post may seem like a challenging task, but with careful assessment, proper tools, and the right techniques, it can be done efficiently. In our Wainscott, Medway project, we demonstrated that even a post that had been leaning for 20 years due to a tree could be restored to its original condition. At Sheridan Fencing, we pride ourselves on our expertise and dedication to providing high-quality fencing solutions.
If you have a similar issue or need any fencing repairs, don't hesitate to reach out. We are here to help with all your fencing needs in Medway, Gravesend, Sittingbourne, and Maidstone. Let us ensure your fences remain strong, secure, and visually appealing for years to come. Contact Sheridan Fencing today for professional, reliable, and efficient service.